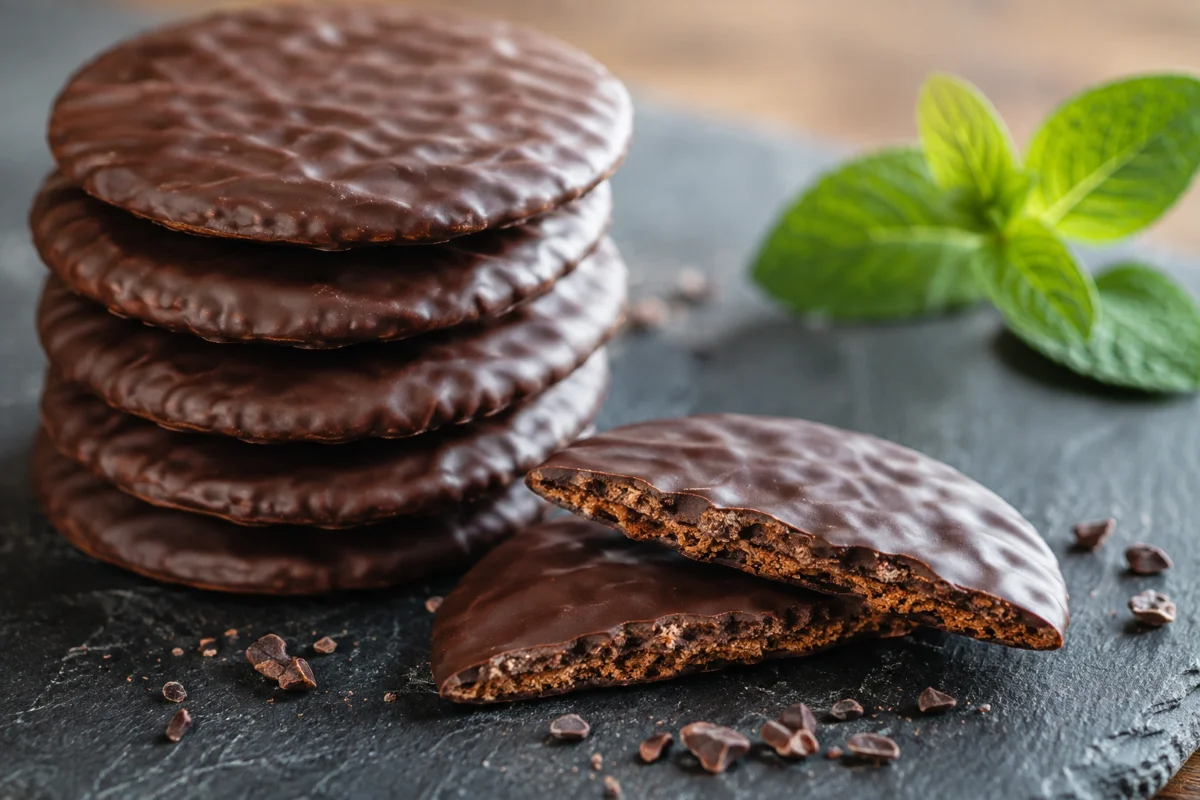
Every spring I get the same craving, and every spring the boxes sell out before I’ve stocked up. So I started making my own — a crisp chocolate wafer with a snappy peppermint coating that hits the same notes as the classic. I’ve run this dough through 40-plus test batches to nail the crunch, and I’m not exaggerating when I say the freezer step is the one thing you cannot skip. Here’s the variable that actually matters: cookie thickness. Roll these too thick and you lose the snap that makes the whole thing work.
What Makes This Copycat Thin Mints Recipe So Crisp
The crunch comes down to two things: a low-moisture dough and a hot enough oven to set the edges fast before the center has a chance to spread. Dutch-process cocoa is the move here — King Arthur Baking’s guide to cocoa types explains that Dutch-process cocoa has been treated with an alkalizing agent that neutralizes its natural acidity, which is exactly why the wafers turn that deep, almost-black color instead of a lighter reddish-brown. On the chocolate coating side, the trick isn’t fancy tempering — it’s controlling moisture. America’s Test Kitchen’s guide to fixing seized chocolate notes that even a small amount of stray liquid will cause cocoa and sugar particles to clump together into a grainy mass, so every bowl and spatula you touch the melted chocolate with needs to be bone dry.
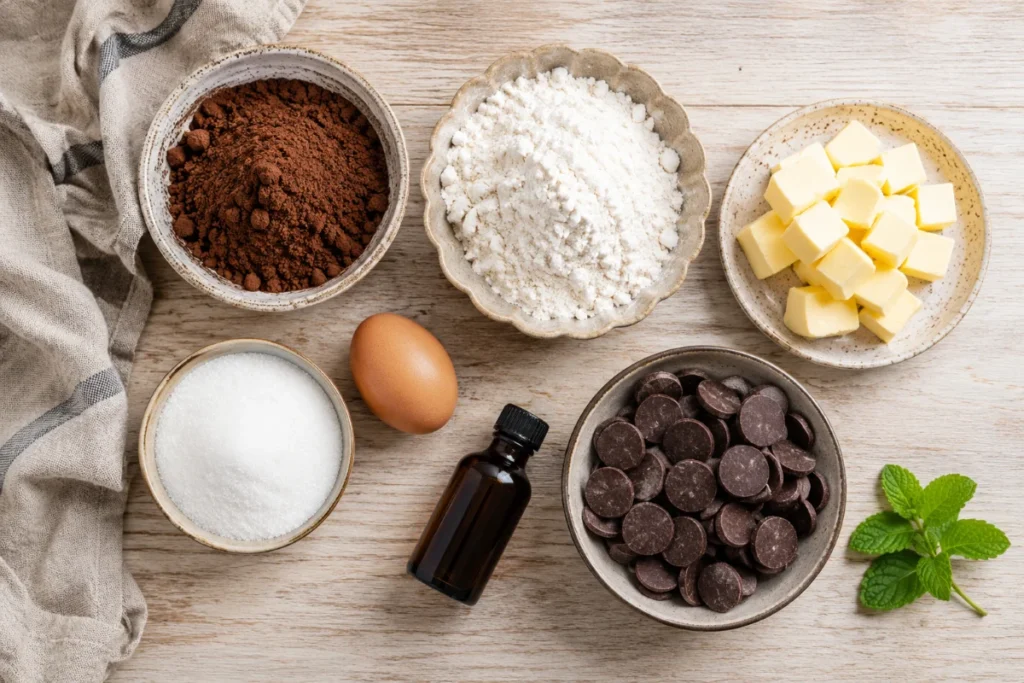
Before You Start: What You’ll Need for This Copycat Thin Mints Recipe
You’ll need a stand mixer or hand mixer, a rolling pin, a 2-inch round cutter, and two baking sheets. Chill the dough for a full hour before rolling, and don’t rush this part — King Arthur Baking’s own chilling test found that chilled dough spreads noticeably less than dough baked straight away, because the solid fat takes longer to melt in the oven. One quick expectation-setter: these are a two-day project if you want them perfect (chill overnight, bake and coat the next day), though you can push through in one afternoon if you’re patient with the freezer. For the nutrition breakdown below I’m working from USDA FoodData Central’s standardized nutrient database, which is the same reference point I use for every cookie on this site.
✅
Test Kitchen Approved Tested by Liam O'Connor · Updated August 4, 2026
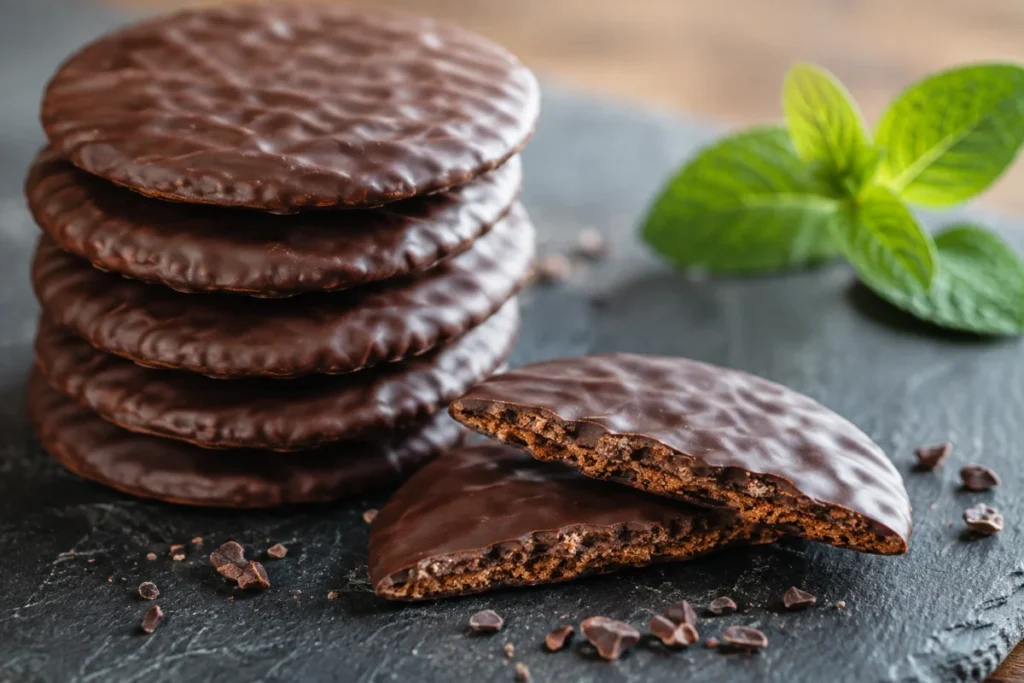
Copycat Thin Mints Recipe — Crisp Mint Cookies at Home
Copycat Thin Mints Recipe — Crisp Mint Cookies at Home
Instructions
1
Make the dough
⏱ 10 min
Whisk flour, cocoa, baking soda, and salt in a bowl — set aside. In a stand mixer, cream the butter and sugar until light, about 2 minutes. This isn't just for texture; it's what traps the air that keeps these from baking flat as a cracker.
2
Add wet ingredients
⏱ 3 min
Beat in the egg, vanilla, and peppermint extract until combined. Scrape the bowl — you want zero streaks of unmixed butter.
3
Combine and chill
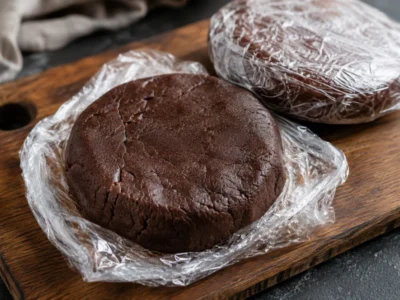
Add the dry mix in two batches, mixing just until it comes together. Overmix here and you'll toughen the dough — stop the second you don't see loose flour. Divide into two discs, wrap, and chill 1 hour minimum.
4
Roll and cut
⏱ 5 min
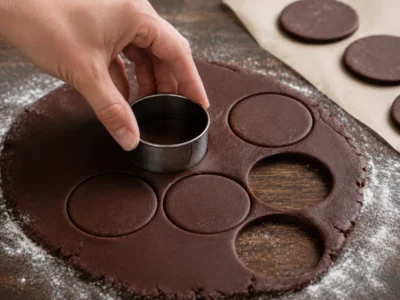
On a lightly floured surface, roll dough to ⅛-inch thick — thinner than feels right, that's the point. Cut with a 2-inch round cutter. Transfer rounds to a parchment-lined sheet and freeze 10 minutes before baking; this is the step that keeps the shape from spreading.
5
Bake
⏱ 9 min
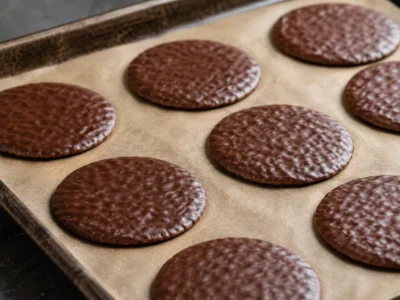
Bake until the edges look set and just slightly darker — the center will still look soft but firms up as it cools. Cool completely on the sheet before touching them; warm wafers will crack when dipped.
6
Melt the coating
⏱ 5 min
Melt chocolate wafers with coconut oil in 30-second microwave bursts, stirring between each, until smooth. Stir in peppermint extract a few drops at a time, tasting as you go.
7
Dip
⏱ 15 min
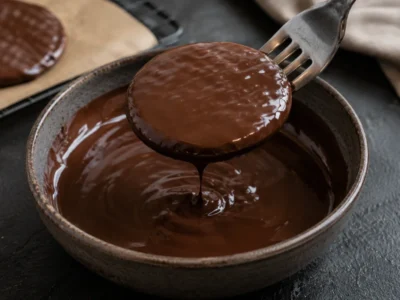
Drop a cooled wafer into the chocolate, flip with a fork, lift, and tap off the excess against the bowl's edge. Set on parchment to firm up.
8
Set (30 min at room temp, or 10 min in the fridge)
Let the coating harden fully before stacking or storing — this is what gives you that clean snap on the first bite.
✨
The Final Dish
💬 "Let the coating harden fully before stacking or storing — this is what gives you that clean snap on the first bite."
🥗 Nutrition Per Serving
🔥130kcalCalories
🧈8gFat
🌾15gCarbohydrates
💪1gProtein
130kcal
Fat8g · 53%
Carbs15g · 44%
Protein1g · 3%
📋 Show Detailed Nutrition ›
🧈 Saturated Fat5g
🍭 Sugars11g
🌿 Dietary Fiber1g
🧂 Sodium35mg
* Nutrition values are estimates and may vary based on ingredients and brand choices.
Frequently Asked Questions (FAQ)
Can I make these ahead?
Yes — the dough freezes well for up to 2 months; thaw overnight in the fridge before rolling.
Why isn't my dough spreading evenly?
Uneven thickness during rolling is the usual culprit — use rolling pin guides or a ruler to keep it consistent at ⅛ inch.
Can I skip the peppermint extract in the coating?
You can, but you'll lose the signature flavor — a straight chocolate-dipped wafer is still good, just a different cookie.
Why did my chocolate coating turn grainy?
That's chocolate seizing from moisture contact — even a drop of water in the bowl will do it.
Can I freeze the finished, dipped cookies?
Yes, up to 3 months in a single layer, separated by parchment so the coating doesn't stick.
Chef Tips & Notes
Don't skip the freezer step before baking — I promise it's why these hold their shape instead of spreading into puddles. If your chocolate coating starts seizing up, it's moisture, not heat — wipe your bowl and fork bone dry and start over rather than trying to save it. For a dairy-free version, swap the butter for a solid vegan butter stick and use dairy-free chocolate wafers; the texture holds up almost identically.
Storage Instructions
Store in an airtight container at room temperature for up to 1 week, or refrigerate for up to 2 weeks for extra crunch. Freeze fully coated and set cookies in a single layer, then layered with parchment, for up to 3 months — thaw at room temperature for 15 minutes before serving. No reheating needed; these are meant to be served cold or at room temp.
How do you like this recipe?
4.9 / 5 (12 ratings)
📬
Never Miss a Recipe!
Get our best test-kitchen recipes delivered straight to your inbox. No spam, ever.
Liam O'Connor is a Seattle-based recipe developer and test kitchen leader with 8 years dedicated exclusively to small-batch baking. Known for running multi-variable cookie matrix tests (analyzing brown sugar ratios, chilled dough fat structures, and browning points), Liam ensures every cookie recipe yields crisp edges, tender chew, and maximum flavor.