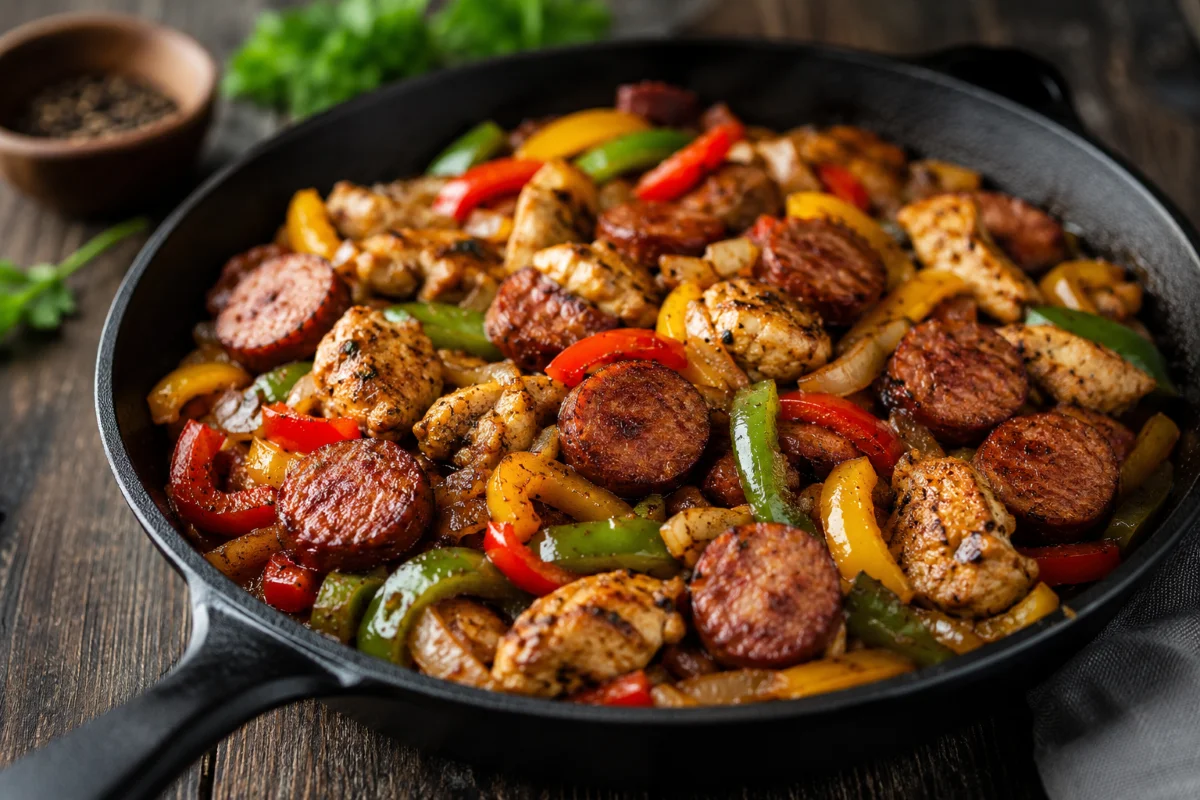
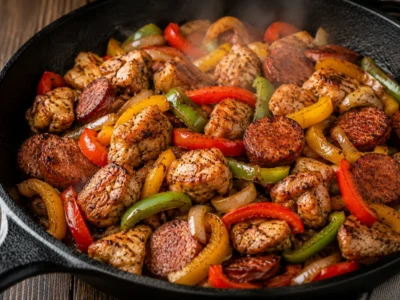
Some nights you need a chicken and sausage recipe that doesn’t ask much of you — one pan, real heat, and a plate that tastes like you worked harder than you did. I’ve run this exact combination through a hundred dinner services: sear the chicken hard, render the sausage, let the fond do the flavor work. No braise, no babysitting. Thirty minutes from cold pan to table, and it holds up whether you’re feeding two or doubling it for a crowd.
What Makes This Chicken and Sausage Recipe Work
The technique here is simple but it’s not lazy — searing the chicken first and rendering the sausage second builds a fond that carries the whole dish, a browning effect America’s Test Kitchen has confirmed comes down to proper pan heat and a dry protein surface, not just time on the stove. Getting a hard sear matters more than people think: a dry surface and a hot pan means real browning, not steaming, a principle Serious Eats breaks down in detail when explaining the Maillard reaction. And because chicken thighs are more forgiving than breast meat, you’ve got margin for error while you’re learning the timing.
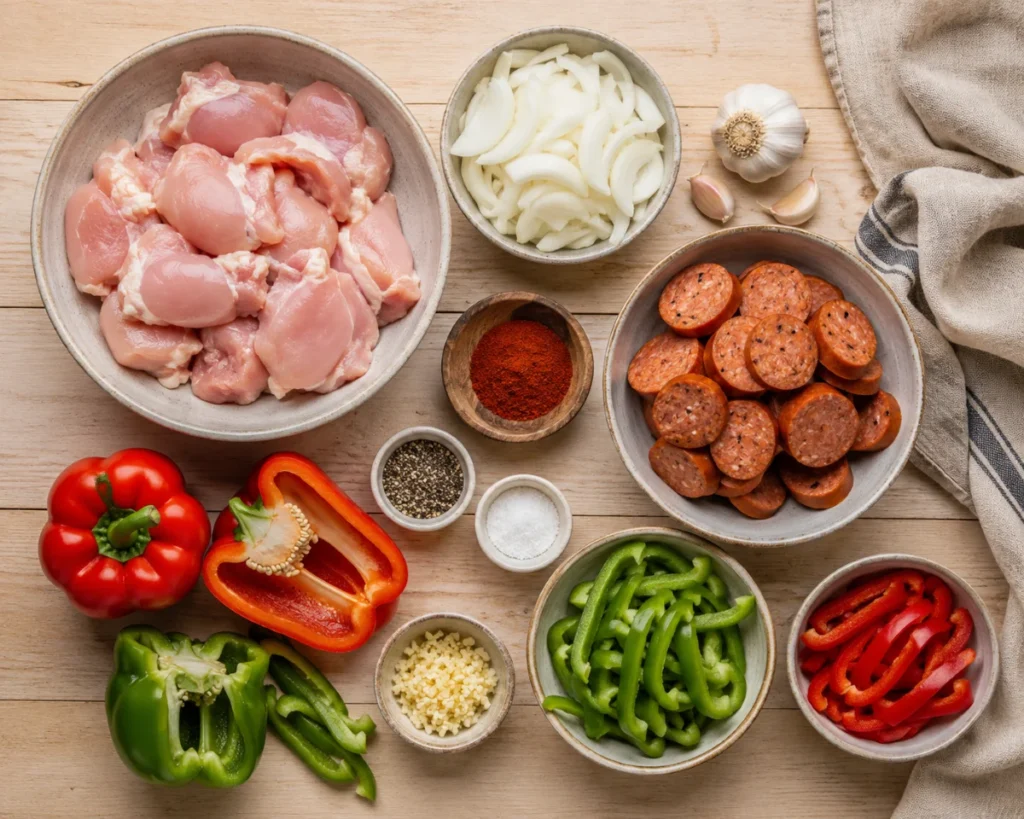
What You Need Before You Start
Get your ingredients cut and your pan hot before anything hits the heat — this isn’t a recipe where you have time to chop mid-cook. Use a heavy skillet, cast iron if you’ve got it, because it holds temperature through the sear instead of losing heat the second the chicken goes in. One thing worth knowing up front: poultry has to hit an internal temperature of 165°F to be safe, no exceptions, a standard set by the USDA Food Safety and Inspection Service. A meat thermometer is not optional equipment for this dish — it’s how you stop guessing.
✅
Test Kitchen Approved Tested by Chef Marcus Vance · Updated July 28, 2026
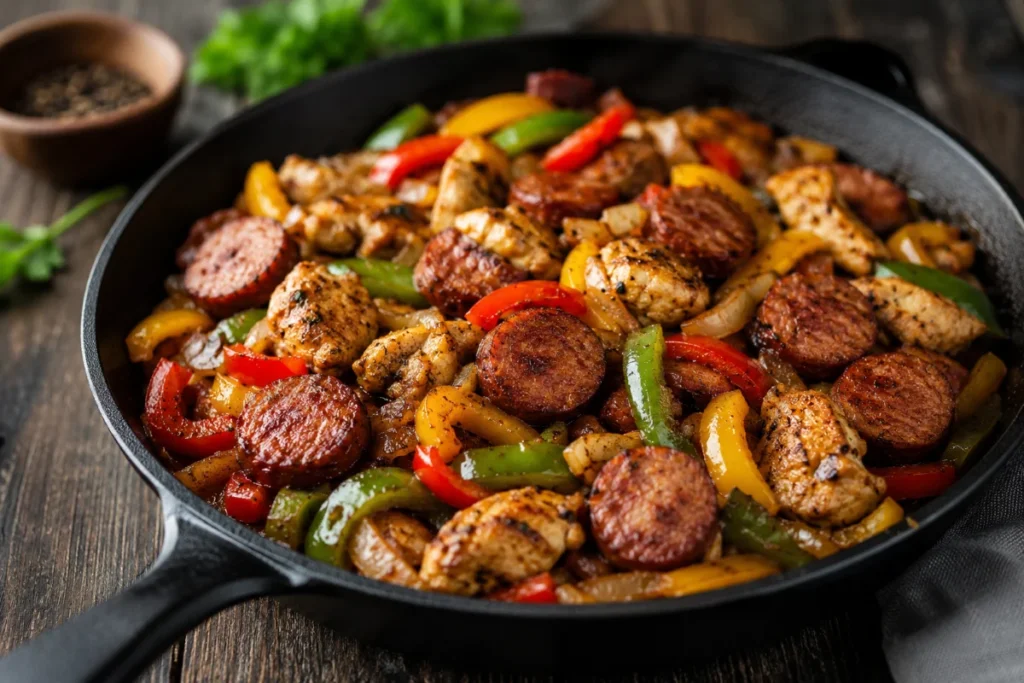
Easy Chicken and Sausage Skillet — One Pan, 30 Minutes
Easy Chicken and Sausage Skillet — One Pan, 30 Minutes
Instructions
1
Season and prep
⏱ 2 min
Pat the chicken dry and season generously with salt, pepper, and smoked paprika. Dry surface, hard sear — don't skip patting it down.
2
Sear the chicken
⏱ 8 min
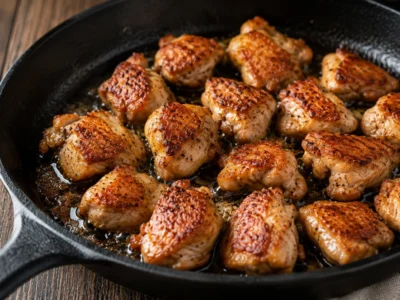
Heat olive oil in the skillet over medium-high until it shimmers. Add the chicken in a single layer, don't crowd the pan. Sear 4–5 minutes per side until deeply browned, then remove.
3
Render the sausage
⏱ 4 min
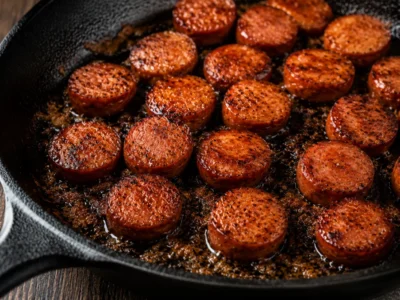
Same pan, no need to wipe it out. Add the sausage rounds and let them render and brown for 3–4 minutes. That fond building up on the bottom is where the flavor lives.
4
Build the vegetables
⏱ 5 min
Add the onion and peppers to the same pan. Cook 4–5 minutes until they soften and pick up color from the fond. Add garlic in the last 30 seconds.
5
Bring it back together
⏱ 4 min
Return the chicken and any collected juices to the pan. Toss with the cayenne, check for seasoning. Cook another 3–4 minutes until the chicken hits 165°F internal — check it, don't eyeball it.
6
Finish and serve
⏱ 1 min
Off heat, scatter fresh parsley over the top. Let it rest one minute before serving — non-negotiable, it lets the juices settle back in.
🥗 Nutrition Per Serving
🔥410kcalCalories
🧈27gFat
🌾9gCarbohydrates
💪34gProtein
410kcal
Fat27g · 59%
Carbs9g · 9%
Protein34g · 33%
📋 Show Detailed Nutrition ›
🧈 Saturated Fat8g
🍭 Sugars4g
🌿 Dietary Fiber2g
🧂 Sodium890mg
* Nutrition values are estimates and may vary based on ingredients and brand choices.
Frequently Asked Questions (FAQ)
Can I use a different type of sausage?
Yes — kielbasa or chicken sausage both work, just adjust cook time slightly since fat content varies.
How do I know the chicken is done without cutting into it?
Use a meat thermometer and check for 165°F at the thickest part — cutting into it just lets the juices run out.
Can I make this ahead?
You can prep the chopped vegetables and sliced sausage a day ahead, but sear the chicken fresh for the best texture.
Is this recipe gluten-free?
Yes, as written — just double-check your sausage brand's label, since some processed sausages use fillers with gluten.
What should I serve with it?
Rice, crusty bread, or a simple green salad all work well to round out the plate.
Chef Tips & Notes
Chicken thighs are your friend here — they've got more fat than breast meat, which means more margin before they dry out. If you only have chicken breast, cut your cook time down and pull it a few degrees before target since it'll carry over. The one mistake I see most: people flip the chicken too early. Leave it alone until it releases from the pan on its own — that's how you know the sear's actually done.
Storage Instructions
Store leftovers in an airtight container in the fridge for up to 4 days. Freeze for up to 3 months in a freezer-safe container. Reheat in a skillet over medium heat with a splash of chicken broth to bring back moisture — microwave works too, at 1-minute intervals, but you'll lose some of that seared edge.
How do you like this recipe?
4.9 / 5 (12 ratings)
📬
Never Miss a Recipe!
Get our best test-kitchen recipes delivered straight to your inbox. No spam, ever.
Chef Marcus Vance brings 14 years of professional bistro and smokehouse kitchen experience straight to your home stove. After culinary school and managing fast-paced restaurant lines in Austin, Texas, Marcus turned his focus to recipe development to help home cooks master juicy poultry, crisp pan sears, and rich reductions without restaurant stress. Every recipe he publishes is tested for foolproof kitchen success.